
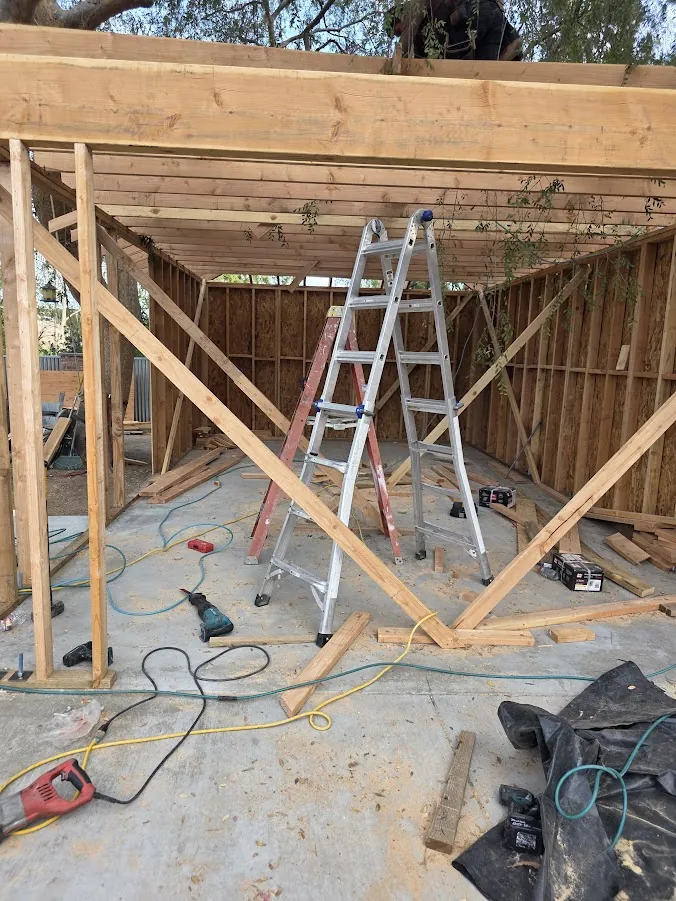
Short answer
A reliable framing sequence starts with the current approved documents, field verification, material and access planning, then moves through layout, structural framing, hardware, sheathing, trade coordination, and inspection preparation.
01 / Framing
Begin with the issued project information
Before layout begins, the team needs the current architectural and structural sheets, revision status, relevant details, and known field changes. An outdated set can create errors that are expensive to discover after walls, beams, or openings are in place.
The site also has to be compared with the documents. Foundation dimensions, embeds, anchor locations, slab conditions, access, staging, and material-delivery paths can affect the sequence even when the drawings are complete.
- Confirm the plan and revision set in use
- Identify unresolved requests for information
- Review foundation dimensions and attachment conditions
- Plan material staging and safe access
02 / Framing
Layout makes the drawings physical
Wall lines, openings, floor heights, stairs, shafts, and roof geometry have to relate to one another. Early layout checks are valuable because a small dimensional conflict can affect cabinets, windows, mechanical paths, exterior finishes, and inspection readiness.
Structural members, connectors, hold-downs, blocking, and hardware should be coordinated against the project documents. RavenRock does not substitute field assumptions for engineering or code-specific direction.
03 / Framing
Coordinate rough trades before concealment
Framing defines the space available for plumbing, electrical, and mechanical work. Chases, dropped areas, backing, equipment clearances, penetrations, and access panels are easier to resolve while framing is open than after rough-ins or finishes begin.
A focused coordination walk can identify conflicts while options still exist. Structural changes, drilled members, and altered openings should be referred to the appropriate project professional rather than improvised.
04 / Framing
Prepare the work for project-specific inspection
Inspection readiness is more than completing visible walls. The team should review required hardware, fastening, blocking, sheathing, access, plan availability, approved revisions, and correction items that apply to the project.
Confirm the required inspection sequence with the authority having jurisdiction and the project’s design professionals. Local requirements and approved details control; this article is a planning framework, not an inspection checklist for a specific property.
Field checklist
Before the framing walkthrough
- Current architectural and structural plan set
- Known revisions, RFIs, and field changes
- Foundation, anchor, and access conditions
- Opening, stair, beam, and roof coordination questions
- Rough-trade paths and required backing
- Inspection status and open correction items
Framing FAQ
Questions project teams ask
Can framing start while plan questions remain open?
Only the unaffected work should advance, and that boundary needs to be clear. Questions affecting structure, dimensions, openings, or later trades should be resolved with the responsible project professionals before they become concealed or create rework.
Who confirms the required framing inspections?
The project team should confirm the sequence with the authority having jurisdiction and the current approved documents. Requirements can differ by location and project type.
What is useful to share before a framing walkthrough?
Share the city or ZIP code, current plans, structural sheets, project stage, inspection status, wide site photographs, and a short list of known questions or changes.